


Field Fix: Find & Patch Micro-Leaks in Minutes
Field Fix: Find & Patch Micro-Leaks in Minutes
1) Quick symptoms check
Pinhole / needle leak
- Loses firmness after 1–6 hours.
- No obvious hole, looks perfect when dry.
- Often on the face fabric where grit or thorns press.
Valve seep / dust in seat
- Hiss near valve when flexed or rotated.
- Improves after rinsing or re-seating the plug.
- Usually slow—soft by morning, not collapsed.
Tip: Inflate the pad fully and close the valve snug (don’t overtighten). Leave on a smooth table for 10–20 minutes to confirm a slow leak before hunting.
2) What you need (field vs. home)
Minimal field kit
- Alcohol wipes (70%+ IPA) or clean water to degrease.
- Pre-cut TPU patch (e.g., self-adhesive TPU or Tenacious Tape).
- Grease pencil / fine marker to circle the leak.
- Small dropper or soap to make bubbles (if needed).
- Optional: Seam Grip TF/WP or similar flexible urethane adhesive for long cures in camp.
At-home upgrade
- Mild soap, sponge/basin for immersion test.
- Fine sandpaper (600–1000 grit) to very lightly key glossy TPU if required.
- TPU patch + urethane adhesive; painter’s tape for clamping.
- Warm, dust-free room (18–25 °C) for full cure.
Do not use: super glue, rigid epoxies, or duct tape. They turn brittle, can damage TPU coatings, and often fail once rolled.
3) Five fast ways to find a micro-leak
- Soapy-bubble wipe (trail-friendly). Mix a drop of soap with water. Inflate firm. Wipe sections; any pinhole will pearls up with fine bubbles. Mark immediately.
- Cheek/ear test. Inflate firm, then press a small area near your cheek or ear in a quiet spot—you can often hear/feel a faint hiss.
- Palm squeeze + sponge. Wet a sponge and press it over seams/panel lines while squeezing the pad—watch for tiny fizzing bubbles.
- Immersion (home only). Submerge a section at a time in a tub. Don’t force folds; look for persistent micro-bubbles. Dry thoroughly before patching.
- UV + talc dust (windy deserts). In low light, dust with a little talc and flex—air jets clear the powder in a pinpoint trail. Mark, then clean before patch.
Pro move: Work in a spiral path from the valve outward so you don’t miss a zone. Many leaks sit on high-pressure areas (hip/shoulder contact).
4) Field repair (5–15 minutes)
Self-adhesive TPU patch — quick & reliable
- Inflate, locate, and circle the pinhole.
- Deflate. Wipe a 4–5 cm area with an alcohol wipe; let it flash dry.
- (Optional) On glossy TPU, very lightly dull the shine with 1000-grit and clean again.
- Warm the surface with hands or pocket for better tack in cold weather.
- Apply a rounded-corner TPU patch (≥25 mm). Start center-out to avoid bubbles.
- Burnish firmly with a spoon or card for 30–60 s. Wait 5–10 min; re-inflate to test.
Cold-camp hack: Body-warm the patch/area first. Adhesives grab faster above ~10 °C.
5) Home repair (maximum durability)
- Clean & dry: Mild soap + water, rinse, let dry fully. No oils/sunscreens left on fabric.
- Prep: Mask a neat oval around the hole with painter’s tape. Lightly key glossy TPU if needed; wipe clean.
- Adhesive film patch: Spread a thin, even layer of flexible urethane (e.g., Seam Grip WP/TF) just beyond patch size.
- Lay the patch: Round the corners, apply from one edge, press out bubbles. Burnish 60–90 s.
- Clamp & cure: Put wax paper + book/plate on top. Cure 8–12 h (overnight) at room temp before rolling.
- Final test: Inflate hard for 30+ min to confirm. Remove any masking tape carefully.
Done right, a urethane-bonded TPU patch is often as strong as the surrounding fabric and survives years of packing/unpacking.
6) Valve & edge troubleshooting
If hissing comes from the valve
- Rinse the valve area with clean water—grit can stop a perfect seal.
- Open/close fully a few times; ensure the plug is square and snug.
- Soapy-bubble the base—if bubbles form at the joint, contact support for a warranty evaluation.
If near seams or edges
- Use bubbles to pinpoint. Small seam pinholes can take a thin smear of urethane overnight.
- If bubbles trace along the seam for more than ~1 cm or the fabric looks lifted, stop field attempts and start a warranty claim.
7) Prevention tips (keep it airtight)
- Use a thin groundsheet under the tent on rocky or rooty ground.
- Brush away grit and pine needles before laying the pad.
- Inflate with a pump sack / USB pump in cold–wet conditions to reduce internal condensation.
- Don’t over-pressurize; pads feel firmer once you lie down.
- Dry the pad fully after trips; store loosely rolled with valve open.
- Keep alcohol/bug repellents off the fabric; rinse if spilled.
- Pack a coin-size patch kit and two alcohol wipes—near weightless, huge peace of mind.
FAQ
How tight should I inflate for leak testing?
Firm, but not drum-tight. You want steady internal pressure without stressing seams while you search.
Can I sleep on the pad right after a field patch?
Yes for self-adhesive TPU patches after 5–10 minutes of burnishing. For urethane glue, let it cure per product directions (often several hours).
Will mouth inflation cause moisture issues?
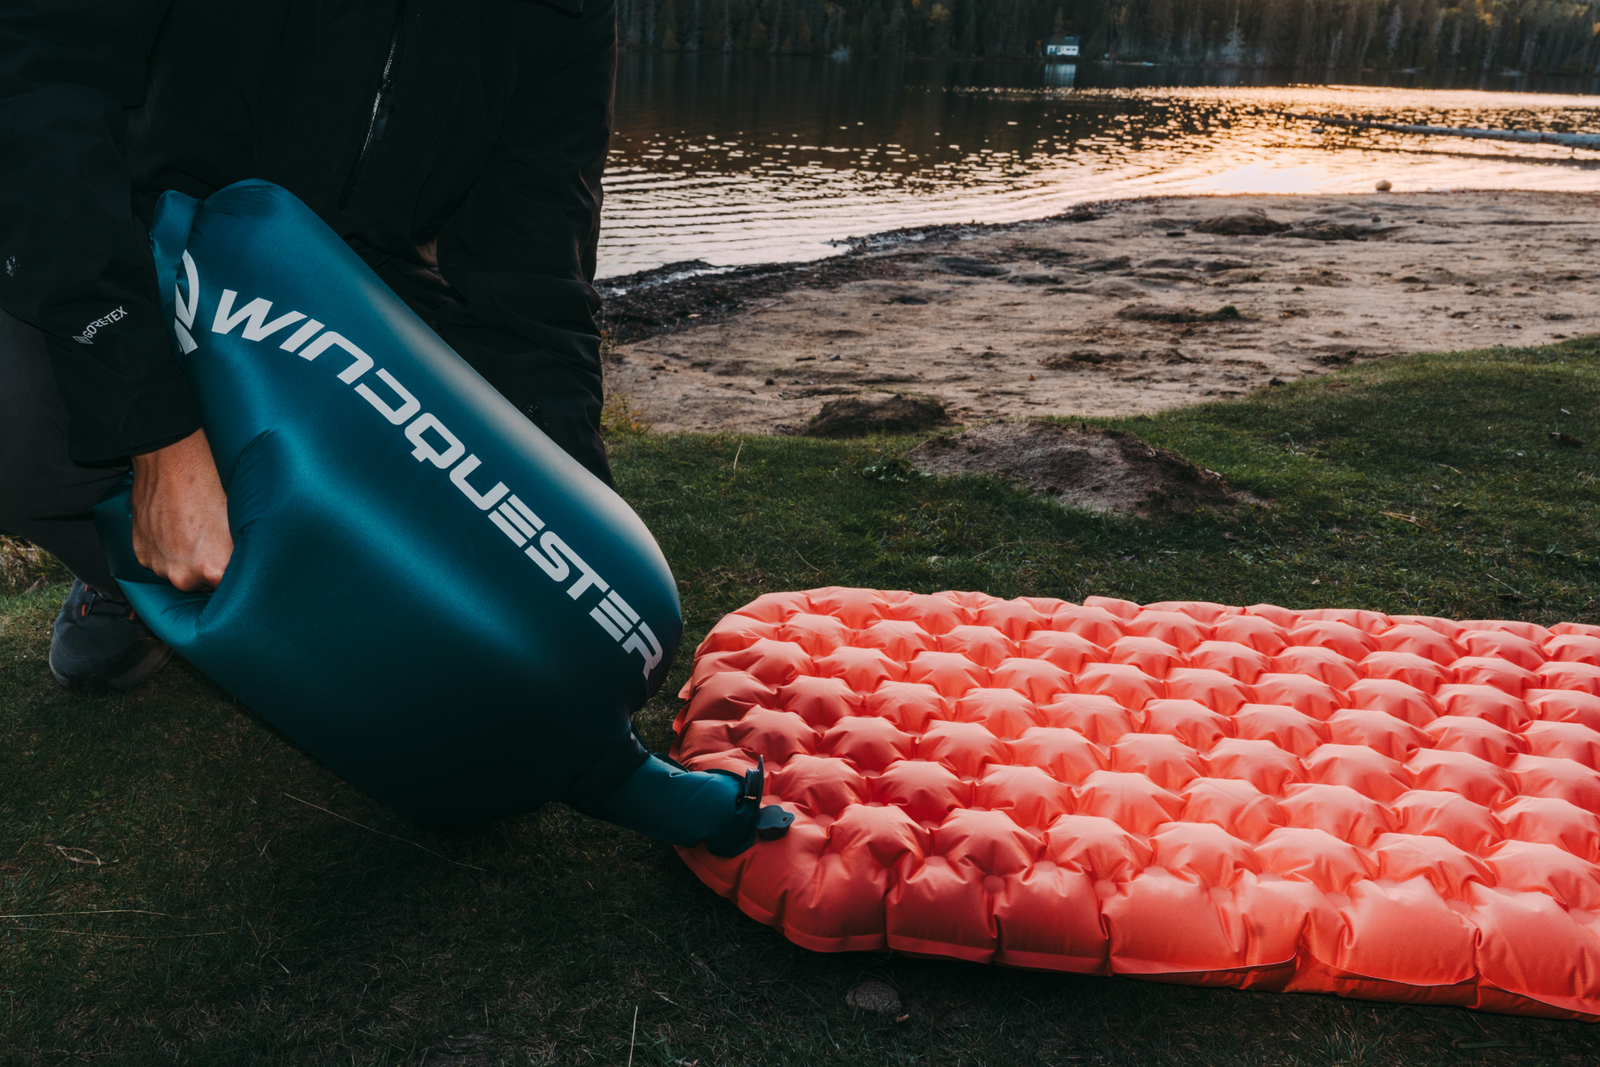
In freezing temps it can. Prefer a pump sack or USB pump—the WindQuester AeroX USB pump is tiny and doubles as a lantern.
Recommended for You


Leave a comment