


Do Trekking Poles Really Protect Your Knees?
#KneeHealth
#TrekkingPoles
#DownhillTechnique
Do Trekking Poles Really Protect Your Knees?
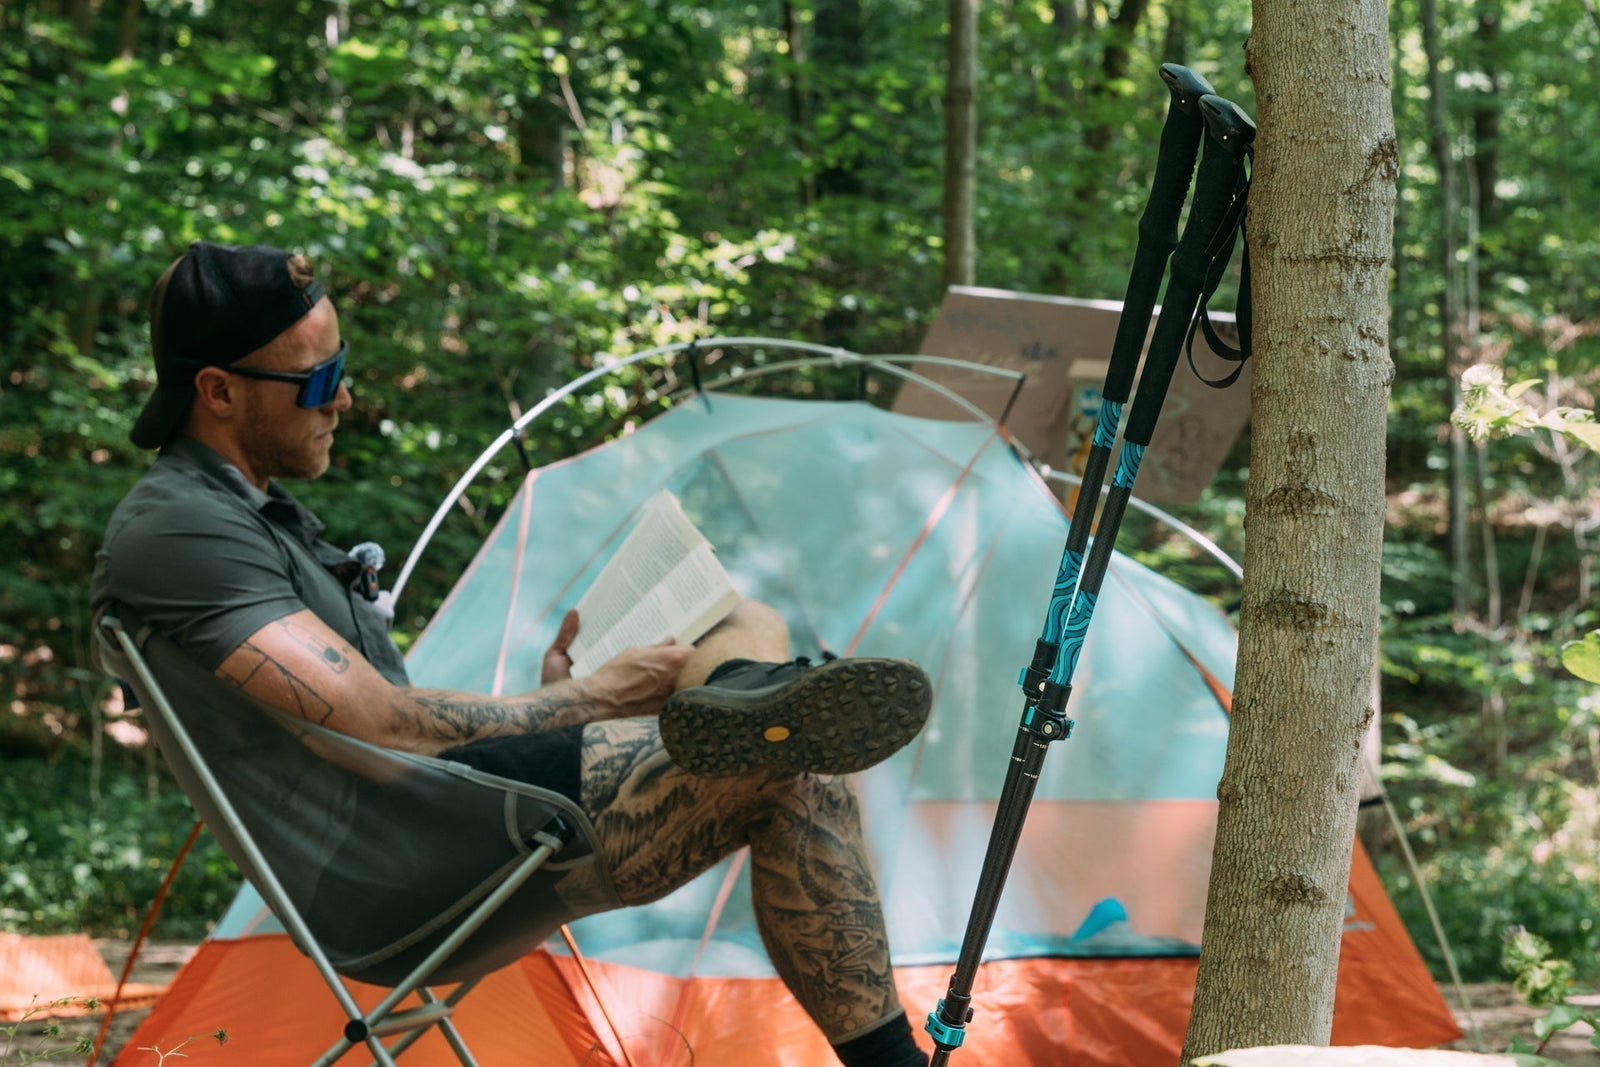
Short answer: yes—when used correctly. Poles act like a pre-braking system on descents: the tip touches first, impact is spread before your knee compresses, and your upper body stays stable. This article explains the mechanics, the common mistakes that make poles “useless,” and how to set them up for real knee relief.
Why Hikers Care About Knee Protection
Search trends have shifted from “Do I need trekking poles?” to “How do I choose and use them for knee comfort?” Over the past months, hikers frequently search topics like:
- trekking pole for knee pain, do hiking poles help knees
- how to use trekking poles downhill, proper pole length for descent
- carbon vs aluminum trekking pole, do carbon poles break
- why do my hands hurt using trekking poles (often a strap issue)
How Poles Reduce Knee Stress (The Mechanics)
- Pre-braking: With correct length on descents, the tip plants before your foot, bleeding off impact.
- Force redistribution: Each step shifts a slice of load from knees/ankles to wrists/shoulders.
- Stability & balance: Extra contact points reduce wobble on stairs, loose rock, scree, or mud.
It’s like ABS for your legs—tiny impact reductions repeated thousands of times.
When Poles Don’t Help (Common Mistakes)
- No strap usage: Without a strap, fingers do all the work → early fatigue and poor technique.
- Wrong length on descent: Too short and the tip can’t pre-brake; too long and shoulders shrug up.
- Only using poles uphill: Downhill is where knee relief matters most.
- Death-grip: Relax your hand and let the strap carry the vertical load.
Set Up & Technique for Knee Relief
- Length: On flats, set elbows ≈ 90°. For descents, extend +5–10 cm so the tip touches first (pre-brake).
- Strap: Thread your hand up through the strap from below, rest the strap under your palm, then hold the grip lightly.
-
Rhythm: Regular slopes:
foot → pole → foot → pole. Steeper steps: plant both poles in a soft “V,” then step down. - Practice: Rehearse on stairs or a short hill until the pre-brake timing feels automatic.
Where Carbon Shines vs When to Choose Aluminum
| Region / Trail | Recommended Material | Why |
|---|---|---|
| Canadian Rockies (Banff, Jasper, Yoho) | Carbon | Long climbs + sustained descents—efficiency and steady rhythm |
| Pacific Crest Trail (US) | Carbon | 20–30 km/day—lightweight compounding over thousands of swings |
| Pacific Northwest Rainforest (Vancouver Island / Oregon Coast) | Aluminum | Wet roots & mud → higher fall risk; aluminum tends to bend, not snap |
| Colorado Rockies / Utah Canyons (rocky, abrasive) | Aluminum | Sharp rocks and impacts—durability/forgiveness matter most |
FAQs
Do trekking poles really reduce knee pain?
They don’t “heal,” but they distribute force and stabilize your gait—especially on descents—so each step loads your knees less.
Are lighter poles better for knees?
Generally yes. The lighter the swing, the easier it is to keep proper timing and technique over hours of downhill walking.
Carbon vs aluminum for joint comfort?
Carbon helps maintain rhythm and reduce arm fatigue; aluminum is more forgiving in rocky, crash-prone terrain. Choose by route and skill, not hype.
How long should poles be for downhill?
About 5–10 cm longer than on flat ground so the tip plants first and bleeds off impact.
Can poles prevent knee injury entirely?
No. They’re a tool to reduce load and improve balance, not a medical device. Use good footwear, pace, and strength work alongside poles.
Summary
Used correctly, trekking poles help protect your knees by pre-braking, redistributing force, and stabilizing your body. Focus on the fundamentals—proper length on descents, correct strap technique, and a steady foot → pole rhythm. Choose carbon for efficiency over long miles, or aluminum for rough, crash-heavy terrain. Your knees will feel the difference.
Leave a comment